Access to ncloud
Web access
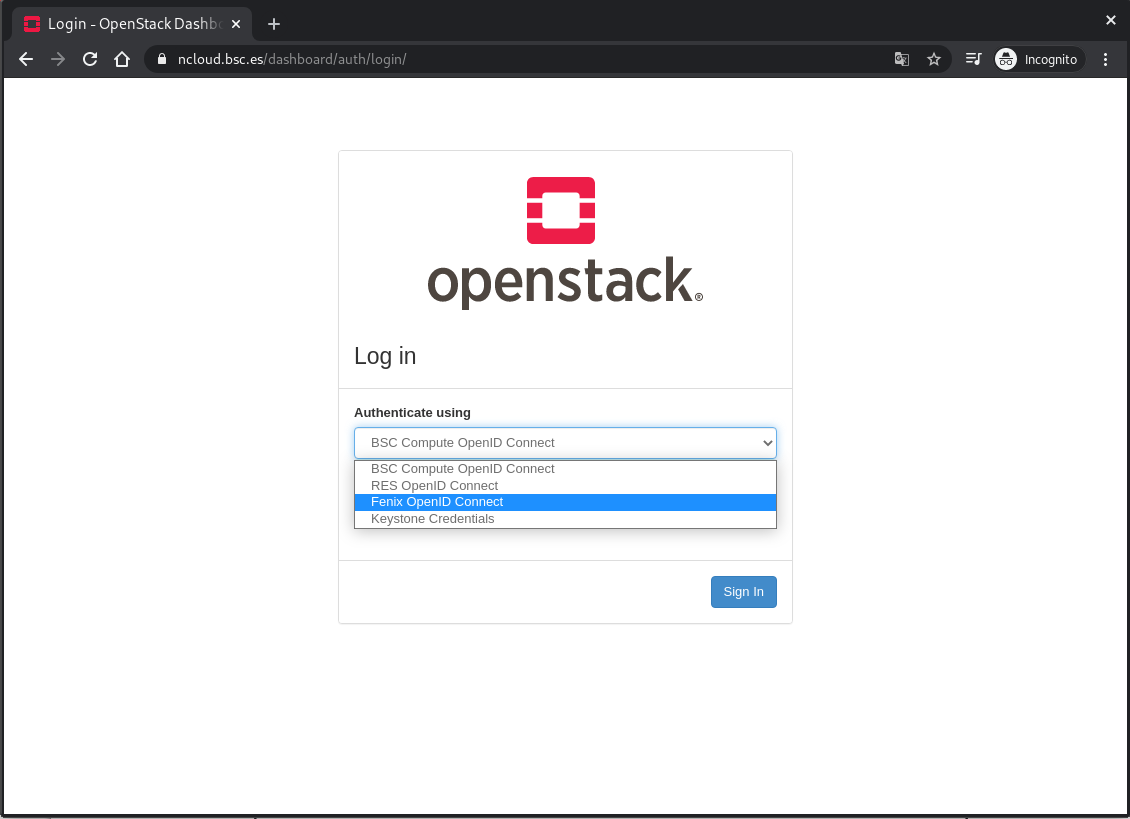
A dashboard is available at: https://ncloud.bsc.es/. This dashboard is supported by Horizon OpenStack Service and allow you to login with your specific domain Fenix, RES or BSC-compute.
The default domain for Fenix users is fenix. Access via Horizon log in authenticating using Fenix OpenID Connect.
The default domain for BSC Compute users is bsc-compute. Access via Horizon log in authenticating using BSC Compute OpenID Connect.
The default domain for RES users is RES. Access via Horizon log in authenticating using RES OpenID Connect.
CLI access
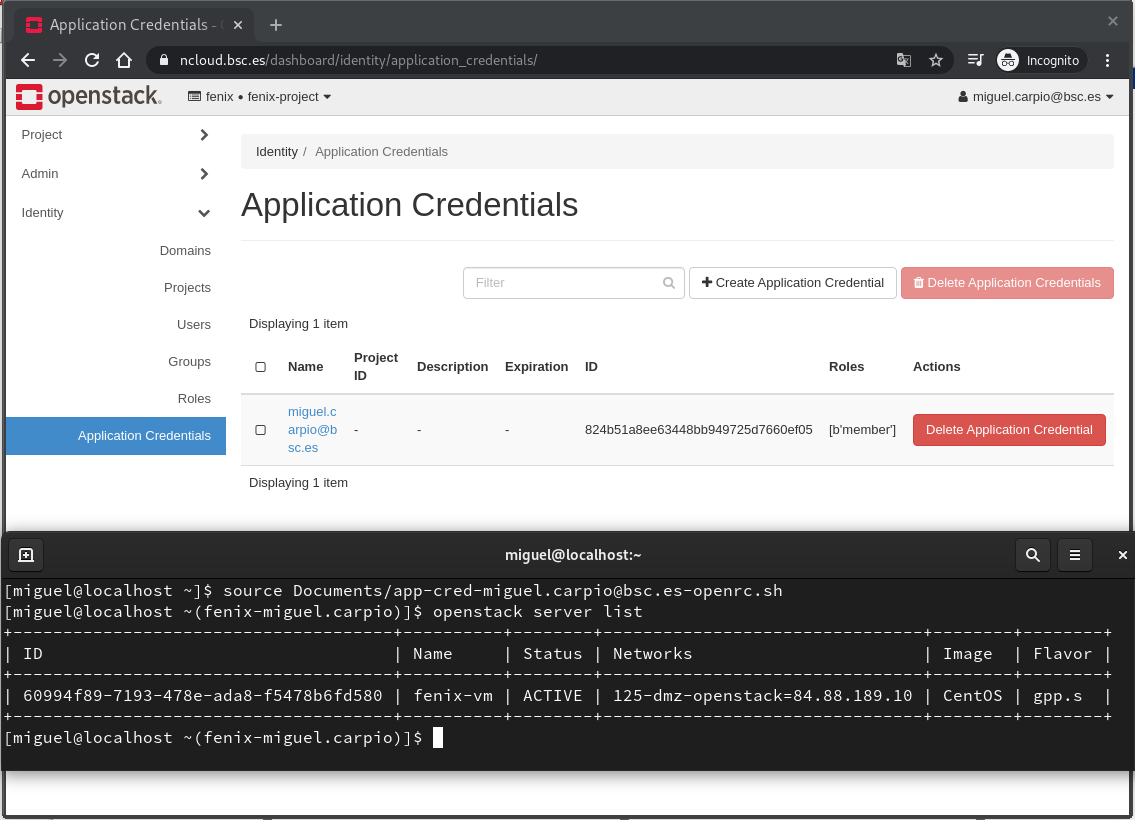
The access to OpenStack Cloud via CLI has to be done whit application credentials. Users cancreate application credentials to allow their applications to authenticate to keystone. Users candelegate a subset of their role assignments on a project to an application credential, granting theapplication the same or restricted authorization to a project. With application credentials,applications authenticate with the application credential ID and a secret string that is not the user'spassword. This way, the user's password is not embedded in the application's configuration,which is especially important for users whose identities are managed by an external system.Below are the steps to create and use application credentials:
1.Login with your Fenix AAI, RES or HPC account via Web Access -- Horizon OpenStackService.
2.On the dashboard, go to panel Identity -> Application Credentials.
3.Click on "+Create Application Credential" and fill out the following obligatory fields. Name and Roles. Select member role. For Swift CLI access support, also select the SwiftOperator roles

4.Download the Application credential script file.
5.Install the OpenStackClient (OSC) command-line client, minimal version recommended: 4.0.0-2
For RHEL, Fedora, CentOS:
yum install -y python3-openstackclient
For Ubuntu:
sudo apt-get install -y python3-openstackclient
6.On the Linux shell, source the Application Credential script and test the CLI access with OSC command-line client, Fig. 4.
$ source app-cred-openrc.sh

$ openstack token issue
Change password
To change your current password, you should go to:
For BSC domain: https://auth.bsc.es/auth/realms/BSC-Compute/account
For RES domain: https://auth.bsc.es/auth/realms/BSC-RES/account
Click on Personal info and then log in
Click on Account Security --> Signing In --> Password --> Click on Update
**# Guide to Mounting Storage via SSHFS from dt01.bsc.es or hsmtransfer
Prerequisites
SSHFS Installation SSHFS must be installed on your OpenStack VM. If not, you can install it using the package manager of your distribution. For example, on Ubuntu:
sudo apt update
sudo apt install sshfs
SSH Key Pair Ensure you have an SSH key pair set up. If not, you can generate one using:
ssh-keygen
- SSH Key Pair Setup
Check for Existing SSH Key Pair:
Check if you already have an SSH key pair by looking in the default directory:
sudo ls ~/.ssh/id_rsa ~/.ssh/id_rsa.pubIf the files are listed without errors, you already have a key pair.
Generate an SSH Key Pair (Only if you don't have one):
If you don't have an SSH key pair or wish to create a new one, generate it using:
ssh-keygenSimply press Enter at each prompt if you're okay with the defaults.
Copy the Public Key to
dt01.bsc.es:ssh-copy-id yourres/hpcusername@dt01.bsc.es
Steps to Mount the Storage
Create a Local Mount Point First, create a directory on your VM where you would like to mount the remote storage.
sudo mkdir /res99Mount the Storage with SSHFS Use the
sshfscommand to mount the remote directory to your local mount point. ReplaceYOUR_USERNAMEwith your actual username ondt01.bsc.es.sshfs YOUR_USERNAME@dt01.bsc.es:/gpfs/archive/resdata/res99/ /res99If prompted, enter your password for
dt01.bsc.es.Verify the Mount You can check if the storage has been mounted successfully by listing the contents of the
/res99directory:ls /res99Unmounting the Storage When you are done, you can unmount the storage using the
fusermountcommand:fusermount -u /res99
Notes:
- If you wish to use SSH keys for authentication instead of a password, you will need to copy your public key (
~/.ssh/id_rsa.pub) to~/.ssh/authorized_keysondt01.bsc.es. This can be done using thessh-copy-idcommand:ssh-copy-id YOUR_USERNAME@dt01.bsc.es - SSHFS mounts are not persistent across reboots by default. If you need the mount to be permanent, consider adding the
sshfscommand to your system's startup scripts or using/etc/fstab.**