
Contents
Get CA Certificate
In order for the server to "trust" certificates generated through pkIRISGrid they must have the Certificate Authority (CA) root certificate installed.
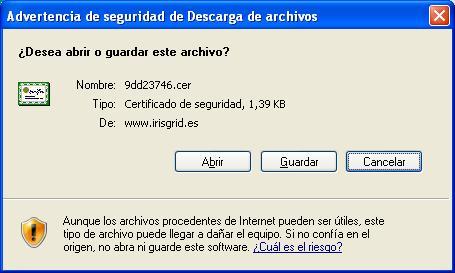
Download the file IRISGridCA.der from Microsoft Internet Explorer and click on “Abrir”.
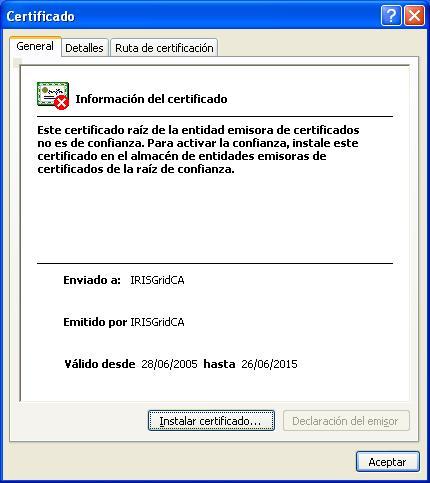
Click on “Instalar certificado ...”.
Click on “Siguiente”.
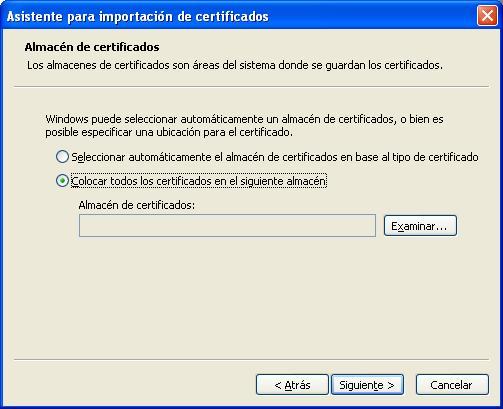
Select "Colocar todos los certificados en el siguiente almacén:" option and click on "Examinar".

Click on “Siguiente”.

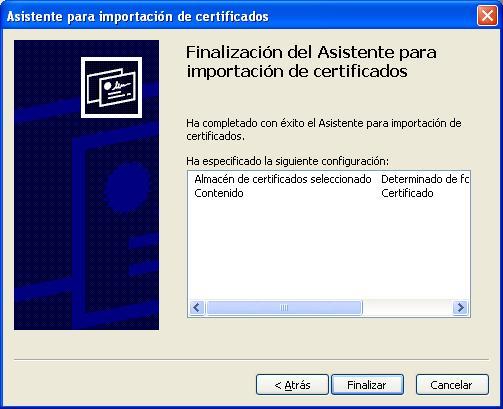
Click on “Finalizar”.
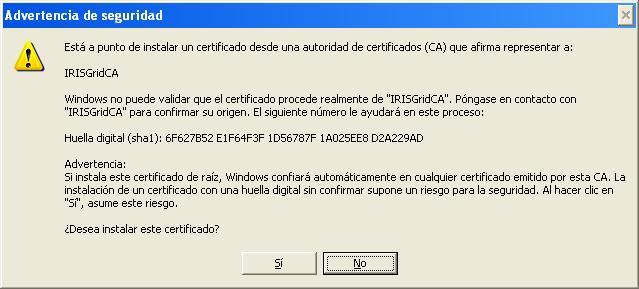
Click on “Sí”.
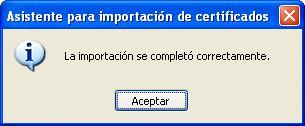
Finally, click on “Finalizar”.
Configuring Windows 7 supplicant
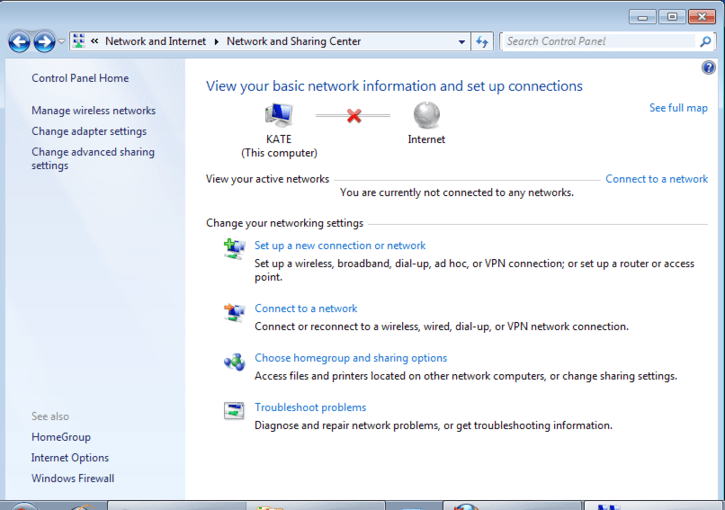
Go to "Control Panel -> All Control Panel Items -> Network and Sharing Center" and choose "Set up a new connection or network".
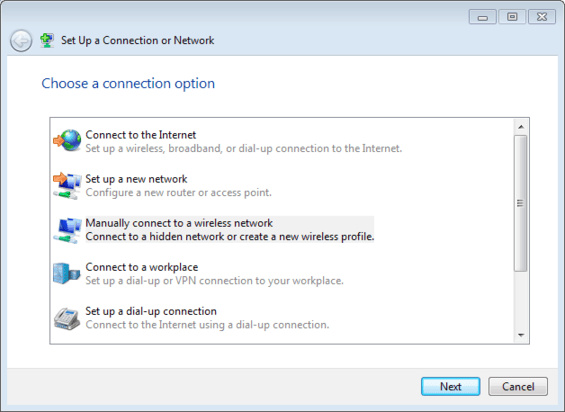
Choose "Manually connect to a wireless network" and click on "Next".
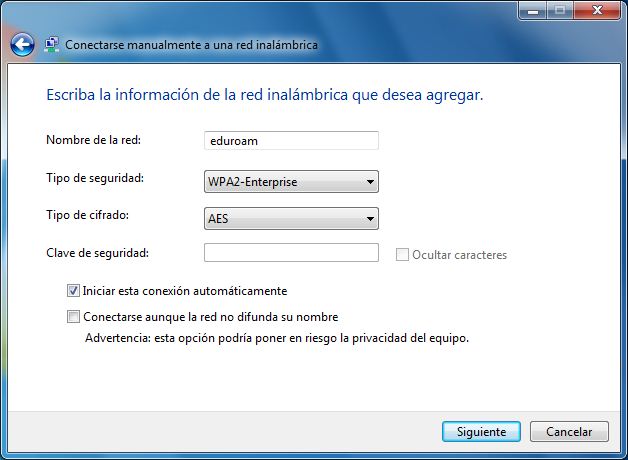
Enter "eduroam" for “Network Name” and click on “Next”.
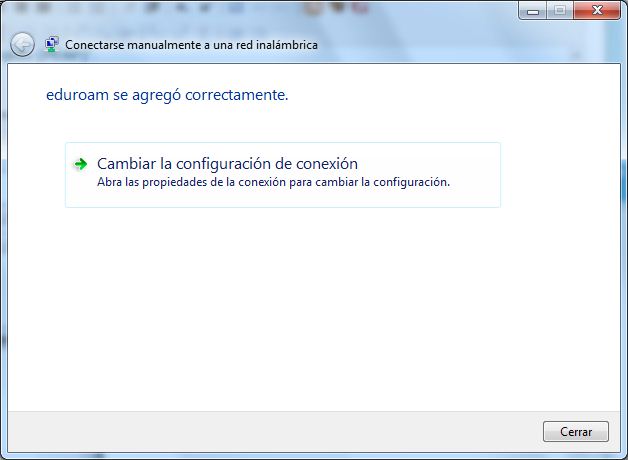
Click on “Change connection settings”.
In the “Security” tab, select “WPA2-Enterprise” for the “Security type”, select “AES” for “Encryption type”, choose “EAP protegido (PEAP)” for “Tipo de EAP” and click on “Settings”.

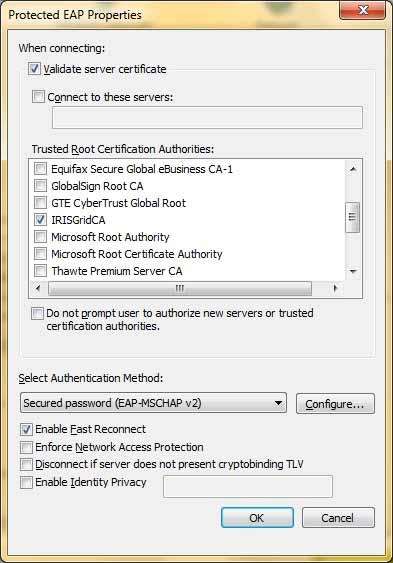
In the “Protected EAP Properties” window, select “Validate server certificate”, check “IRISGridCA” for “Trusted Root Certification Authorities”, and choose “Secured password (EAP-MSCHAP v2)” for “Select Authentication Method”. Then click on “Configure”.
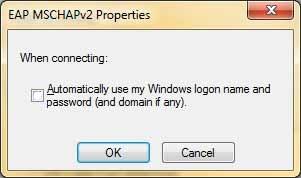
Finally, in the “EAP MSCHAPv2 Properties” window, unselect “Automatically use my Windows logon name and password (and domain if any).”
Configuring Windows 10
Go to start menu and then type “Network and Sharing Center”

Choose "Set up a new connection or network"

Choose "Manually connect to a wireless network" and click on "Next".

Type "eduroam" on “Network Name”, and select “WPA2-Enterprise” on “Security type”, then click on “Next”.

Click on “Change connection settings”.

In the “Security” tab, select “WPA2-Enterprise” on “Security type”, select “AES” on “Encryption type”, and choose “Protected EAP (PEAP)” on “Authentication method” and click on “Settings”.

In the “Protected EAP Properties” window, uncheck “Validate server certificate” and choose “Secured password (EAP-MSCHAP v2)” on “Select Authentication Method”. Then click on “Configure”.

Finally, in the “EAP MSCHAPv2 Properties” window, unselect “Automatically use my Windows logon name and password (and domain if any).”
